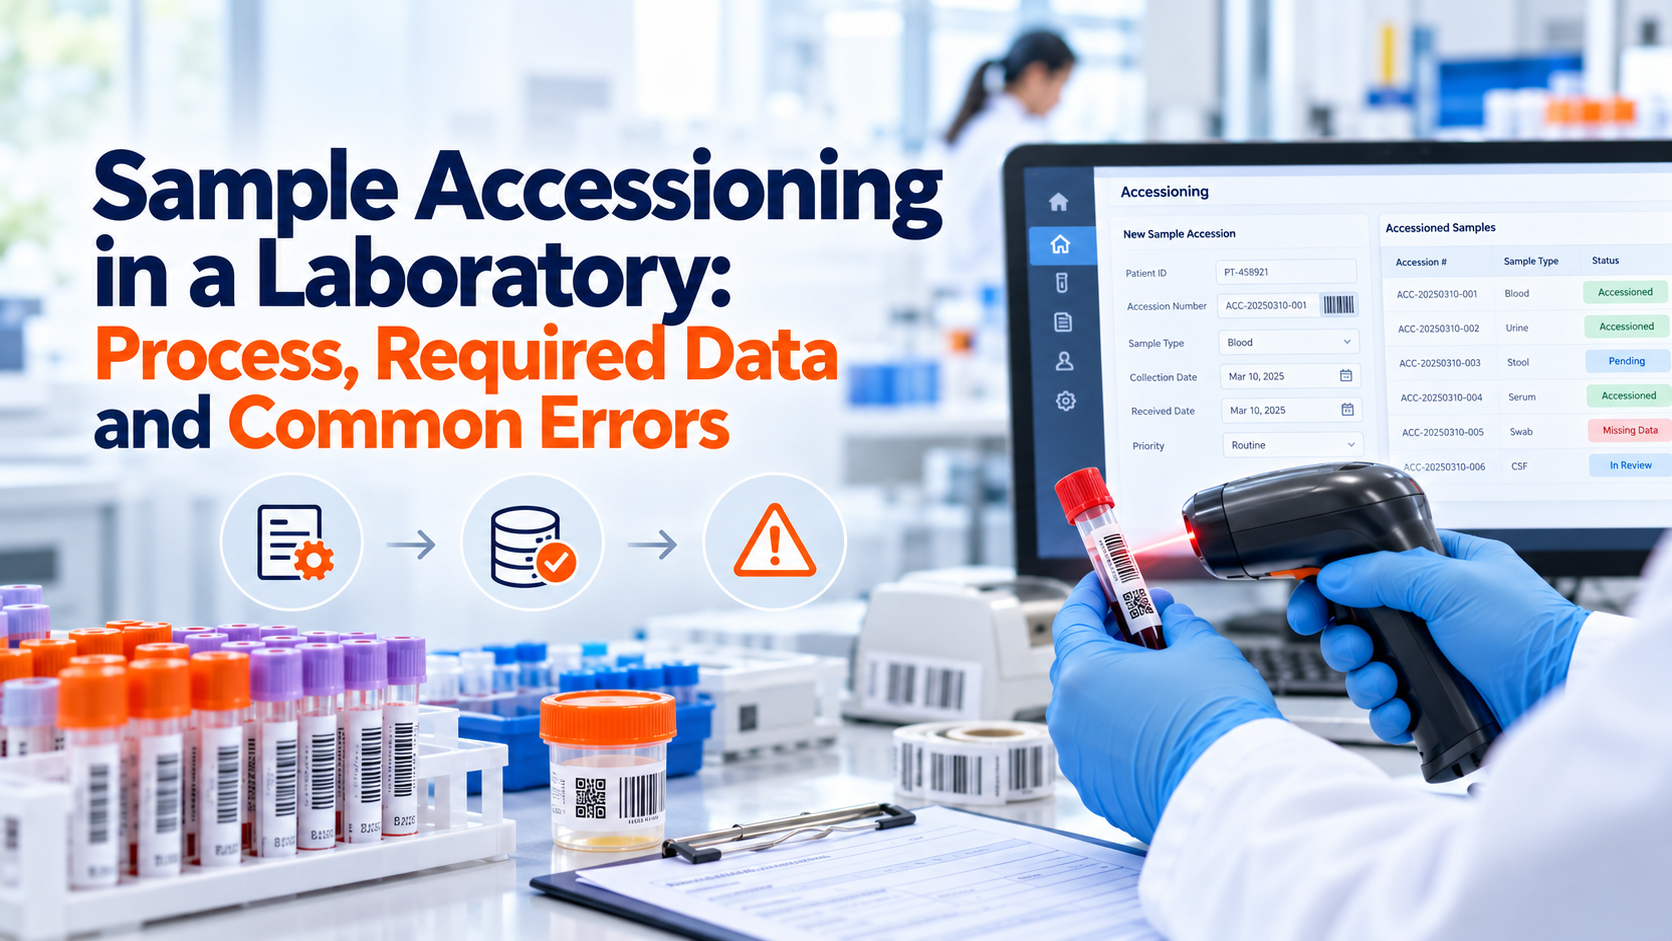
Laboratory testing does not begin when an analyst places a sample on an instrument. It begins when the laboratory receives the material and establishes exactly what it is, whether it is suitable for testing and what needs to happen next. That first controlled step is sample accessioning.
Sample accessioning is the process of receiving a laboratory sample, verifying its identity and condition, determining whether it meets applicable acceptance criteria, creating or confirming its laboratory record, assigning a unique identifier and connecting it with the required testing and workflow.
Done well, accessioning creates a reliable starting point for everything that follows. Done poorly, errors introduced at intake can follow the sample through testing, review and reporting.
A wrong identifier can connect a result to the wrong material. An incomplete test request can delay analysis. An undocumented damaged container can create questions later about sample integrity. A missing collection time may make it difficult to determine whether a time-sensitive sample remains suitable for testing.
This is why accessioning should be treated as part of the laboratory's technical workflow rather than as simple administrative data entry.
CDC laboratory guidance emphasizes that laboratories should have written criteria for accepting or rejecting specimens and should consider issues such as inappropriate specimen type, mislabeling, degradation, improper transport and unsuitable containers.
For laboratories building the broader workflow around intake, our laboratory sample tracking guide explains how the record created at accessioning can remain connected through testing, storage, review and final disposition.
What Is Sample Accessioning?
Sample accessioning is the controlled transition between receiving a physical sample and creating an actionable laboratory record for it. The process typically confirms three things.
First, the laboratory establishes what was received.
Second, it determines whether the material is acceptable for the requested testing.
Third, it establishes what should happen to the sample next.
A complete accessioning workflow may therefore include identity verification, condition assessment, acceptance or rejection decisions, sample registration, accession-number assignment, label creation, requested-test assignment, priority setting, custody documentation and routing into the appropriate laboratory workflow.
The exact process differs among laboratories.
A clinical diagnostics laboratory receiving a patient specimen may focus heavily on patient identifiers, specimen type, collection time and transport conditions.
An environmental laboratory may need to review field identifiers, preservation, holding-time information and chain-of-custody documentation.
A pharmaceutical QC laboratory may connect the sample with a material, batch or lot, specification and required testing.
A contract laboratory may need client, project, quotation or turnaround-time information.
The accessioning process should therefore be configured around the laboratory's actual work rather than copied from a generic template.
What Is the Difference Between Sample Receipt and Sample Accessioning?
Sample receipt confirms that material physically arrived. Sample accessioning converts that received material into a controlled laboratory record that can enter the testing workflow.
The distinction matters. A courier may deliver a package at 9:10 AM. That is receipt.
The laboratory may then inspect the package, compare the samples with the submission information, assess condition, determine whether each sample is acceptable, create laboratory records, assign accession numbers and route accepted material for testing. That is accessioning.
In a simple workflow, receipt and accessioning may happen almost immediately and be performed by the same person. In a larger laboratory, they may be distinct stages.
Separating the concepts helps laboratories define accountability. It becomes clear when physical possession began and when the sample became an active laboratory record.
Why Accurate Accessioning Matters
Accessioning establishes the context in which later laboratory data will be interpreted.
Imagine that an analyst produces a technically correct result from a container, but the accession record connected that container to the wrong client or product.
The analytical work may be flawless, but the laboratory still has a serious problem.
Similarly, if the requested test was entered incorrectly during sample intake, the laboratory may perform the wrong analysis even though every downstream step follows procedure.
Accessioning therefore acts as a control point between external information and internal laboratory execution.
It is where the laboratory has an opportunity to identify problems before they become testing problems.
How Should I Set Up Sample Registration and Accessioning for Incoming Laboratory Samples?
Set up accessioning as a defined sequence: receive the material, verify identity and documentation, inspect condition, apply acceptance criteria, register the sample, assign a unique accession number, create the correct label, connect the required tests and priority, and then release the sample into the appropriate workflow.
The sequence should be written into the laboratory's procedure and reflected in its LIMS configuration. The process does not need to be identical for every sample type.
A routine water sample, urgent clinical specimen and pharmaceutical stability sample may need different required fields and acceptance checks.
The important requirement is that users know what must be confirmed before the record moves forward.
A useful accessioning workflow begins with the physical sample rather than immediately typing information into software.
The employee should first establish that the sample received corresponds with the accompanying order, submission or project documentation.
Once identity and condition have been evaluated, the digital record can be created or confirmed.
LabZila's sample management software is structured around registration, unique identifiers, sample status, locations, testing activity, transfers and retention so that accessioning becomes the beginning of a connected sample lifecycle rather than an isolated intake event.
Step 1: Confirm What Was Received
The first task is reconciliation. The laboratory should compare the physical material with the information supplied by the submitter or collection process.
Depending on the laboratory, that may mean checking the sample ID, number of containers, requested testing, client or project, specimen type, material or batch information and supporting documentation.
If five samples were expected and only four arrived, the discrepancy should be identified before all five are entered as received.
Likewise, if the submission form says "wastewater" but the container label indicates another matrix, the issue should not simply be guessed away.
The laboratory should follow its procedure for clarification, rejection or conditional acceptance. Accessioning is the point at which mismatches should become visible.
Step 2: Check Sample Identity
A sample should be identifiable before it is accepted into testing. The required identity may come from a field sample number, specimen label, customer sample ID, manufacturing identifier, batch or lot number, clinical identifier or another approved source.
The laboratory may then assign its own internal accession number. External and internal identifiers should remain connected.
For example, a customer may call a sample: SITE-4-WATER-101
The laboratory may assign: LAB-261012-0047
Both identifiers can remain associated with the same electronic record. The internal accession number provides the laboratory with a controlled identity while the external ID preserves the connection with the submitter's material.
Step 3: Inspect Sample Condition
Condition should be assessed before the sample proceeds when condition can affect suitability for testing. The exact checks depend on sample type and method.
Relevant issues can include damaged or leaking containers, inadequate volume, inappropriate container type, evidence of contamination, incorrect preservation, temperature problems, excessive transport delay or another condition defined by the laboratory.
CDC describes accessioning processes in which package and specimen condition, including temperature where relevant, are recorded and used in acceptance decisions.
EPA laboratory operations guidance similarly provides a practical example of inspecting samples on receipt, comparing sample IDs with tracking information and recording conditions such as cracked or leaking containers.
These examples should not be turned into universal rejection rules. Each laboratory must establish criteria appropriate to its methods, sample types and applicable requirements.
What Information Should Be Captured When a Laboratory Sample Is Received?
At minimum, capture enough information to establish the sample's identity, source, receipt, condition, requested work and traceable relationship to the laboratory workflow. The exact required fields should depend on the laboratory and sample type.
A practical accessioning record may include:
| Information Area | Typical Data |
|---|---|
| Identity | External sample ID and laboratory accession number |
| Source | Client, project, patient, batch, lot or sampling location as applicable |
| Sample details | Sample type, matrix, material or specimen type |
| Timing | Collection date/time where applicable and laboratory receipt date/time |
| Condition | Container condition, temperature or preservation information where relevant |
| Quantity | Number of containers or amount received where required |
| Testing | Requested tests, panels, methods or specifications |
| Priority | Routine, urgent or other configured priority |
| Custody | Submitter, courier, receiver or transfer information when required |
| Storage | Initial storage requirement or assigned location |
| Exceptions | Missing information, damage, discrepancy, rejection reason or comments |
Not every field belongs in every laboratory.
For example, patient information belongs in appropriate clinical workflows but would not normally belong in a food-testing accession record.
The objective is to collect information because it has operational or quality value, not simply because software provides a field for it.
Step 4: Apply Acceptance and Rejection Criteria
A sample should be accepted only after the laboratory determines that it meets the defined criteria for the requested work, or after an authorized decision is made about how an exception will be handled.
Written acceptance and rejection criteria remove guesswork from receiving.
Depending on laboratory type, reasons for rejection or escalation may include incorrect identification, insufficient quantity, unsuitable sample type, damaged packaging, missing submission information, inappropriate storage or transport conditions, exceeded stability or holding time, or another issue relevant to the test.
CDC guidance specifically recommends written specimen acceptance and rejection criteria and identifies problems such as improper transport, mislabeling, degradation and unsuitable specimen types as situations laboratories should address.
The laboratory should also define what happens after a problem is discovered. Not every imperfect sample must necessarily be discarded.
In some workflows, the laboratory may contact the submitter, document the exception and proceed after an authorized decision.
In others, testing may not be appropriate. The important point is that exceptions should be visible and handled according to a defined process rather than silently ignored.
Rejection Is a Workflow, Not Just a Status
Marking a record "Rejected" is not enough if nobody knows what happens next.
A good rejection process should establish why the sample was rejected, who made or authorized the decision, whether the submitter was notified, what happens to the physical material and whether recollection or resubmission is required.
If the sample is not immediately disposed of, its location should remain known. This prevents rejected samples from becoming untracked material sitting in a receiving area. Rejection data can also become operationally useful.
If a laboratory repeatedly receives samples with insufficient volume or incorrect labeling from the same source, those patterns may indicate a training or submission-process problem that should be addressed.
Step 5: Assign a Unique Accession Number
Once the sample is accepted for registration, it should receive a unique laboratory identity. The accession number should distinguish that record from other samples.
A laboratory may use a simple sequential format, a date-based structure or another configured convention. For example: LAB-2026-10584 The format itself is less important than uniqueness, consistency and traceability.
Identifiers should not be designed to encode so much information that they become difficult to maintain.
Project, sample type, client, batch and other information can usually exist as structured fields in the digital record rather than all being embedded inside the ID.
The accession number is primarily the stable key connecting the physical sample to its laboratory record.
Step 6: Create the Sample Label
After the accession number is established, the laboratory can generate the physical identification used during testing and storage. This may include a human-readable sample ID together with a barcode, Data Matrix or QR code.
The label should match the laboratory's containers, environmental conditions and scanning workflow. It should also remain linked to the correct accession record.
The recently published barcode sample tracking guide explains how machine-readable labels can connect sample intake with storage, transfers, aliquots and downstream workflow events.
Labeling should be controlled carefully. A perfectly readable barcode attached to the wrong container creates a more serious problem than an unreadable barcode because it can create false confidence in the sample identity.
Step 7: Assign the Correct Tests
Accessioning should answer not only "What did we receive?" but also "What work has the laboratory agreed to perform?"
Tests may be assigned based on the submission request, customer agreement, sample type, product specification, testing panel, project requirements or another controlled source. A sample should not move into analytical work with unclear test requirements.
Where possible, the LIMS can associate testing with predefined methods, specifications, panels or workflows rather than requiring users to recreate the testing structure for every sample. This connects accessioning directly with execution.
The How Does a LIMS Work? guide explains how the sample record can move from accessioning into test assignment, analysis, result review and reporting without breaking that relationship.
Step 8: Set Priority and Due Information
Not all samples should necessarily enter the same queue. A laboratory may handle routine, expedited, stability, regulatory, investigation or time-sensitive samples.
Where priority affects laboratory planning, that information should be captured during accessioning. Priority should also have a defined meaning.
If everyone can simply mark every submission as urgent, the priority field loses operational value.
Laboratories should establish who can request or approve priority treatment and how the system should use that designation.
A defined priority can then influence work queues, due dates, notifications or scheduling without requiring employees to rely on informal messages.
Step 9: Route the Sample to the Correct Location
After registration, the physical sample needs a known destination. That may be short-term receiving storage, refrigeration, frozen storage, a preparation area, a specific department or another controlled location.
The electronic status and location should reflect the physical reality. If software shows that the sample has entered chemistry while the physical container is still in receiving, the workflow already contains a traceability gap.
This is where accessioning connects directly with laboratory sample tracking. The sample record should remain active as the physical material begins moving through the laboratory.
Accessioning and Chain of Custody
When custody requirements apply, accessioning is an important custody checkpoint. The laboratory may need to document who delivered or relinquished the material, who received it, when the transfer occurred and whether relevant package or seal conditions were acceptable.
From that point forward, significant internal transfers can remain associated with the same record. The chain-of-custody guide covers these handoffs in more detail. The distinction is useful:
Accessioning establishes the controlled laboratory record.
Chain of custody establishes accountability for relevant possession and transfers.
The two processes should work together when both are required.
Can Sample Accessioning, Barcode Creation and Test Assignment Be Handled in One LIMS Workflow?
Yes. A properly configured LIMS can connect sample registration, accession-number creation, barcode or QR-label generation, test assignment, priority and initial routing within one accessioning workflow.
That does not mean every action must happen automatically. Automation should be used where it reduces repeated entry without removing necessary verification.
For example, a contract laboratory may receive an electronic submission before the physical samples arrive.
At receipt, staff can compare the shipment with the existing submission, confirm condition and acceptance, then convert or confirm those records as active laboratory samples.
The system can assign laboratory IDs, generate labels and attach the agreed testing package. The receiving user still verifies that the material is correct before releasing it into testing. This distinction is important.
A LIMS should make accessioning more consistent, not automate away the decision about whether a sample is actually suitable for work.
Manual Sample Registration vs Digital Accessioning
Paper logs and spreadsheets can support simple workflows, particularly when a laboratory handles a small number of samples. The difficulty increases when several users need the same information.
A receiving spreadsheet may contain the accession number.
A testing worksheet may contain the requested methods.
An email may contain a priority change.
A handwritten label may identify the container.
Another spreadsheet may record storage.
The problem is not that any one of these tools is necessarily inaccurate. The problem is maintaining agreement among them. Digital accessioning creates one record from which downstream laboratory activities can begin.
Users do not need to recreate the sample identity at every stage. The same accession number can remain associated with testing, storage, custody, results, review and reporting.
Common Sample Accessioning Errors
The most damaging accessioning mistakes often look small when they first occur.
- Creating Duplicate Sample Records
A submission may be entered before arrival and then entered again when the material reaches the laboratory.
Now the same physical sample has two electronic identities. Duplicate checks and clear rules about pre-registration versus final accessioning can reduce this risk.
- Using an Incorrect Sample Identifier
Transposing characters or selecting the wrong customer sample can disconnect the physical material from its intended record.
Barcode scanning reduces repeated typing but does not eliminate the need to verify the correct label was applied.
- Accepting a Sample Without Checking Condition
If the container was damaged, leaking or otherwise unsuitable, recording that condition after testing has begun may be too late. The receipt process should make condition review explicit where relevant.
- Leaving Required Fields Blank
Missing collection times, sample types, batch identifiers or requested analyses can cause downstream delays.
Required fields should reflect actual laboratory needs rather than every possible piece of information.
- Assigning the Wrong Tests
Selecting the incorrect panel or method can waste sample, analyst time and instrument capacity. Test assignment should come from an authorized request or configured rule.
- Misusing Priority
If priority values are not standardized, receiving staff may interpret "urgent" differently. Define what each priority level means and how it affects workflow.
- Printing the Right Label for the Wrong Container
This is one of the most important barcode-related accessioning risks. The software may create the correct identifier and the printer may produce a flawless label, but the workflow still fails if that label is attached to the wrong physical material. Verification at labeling remains essential.
- Failing to Record a Rejection Properly
A rejected sample should not simply vanish from the workflow. The reason, decision and sample disposition should remain traceable where required.
How Accessioning Supports Laboratory Traceability
Accessioning establishes the point from which downstream laboratory activity becomes traceable. Once the sample has a controlled identity, the laboratory can associate its subsequent activities with that identity.
Testing can show which sample was analyzed.
Instrument data can be connected to the correct test.
Storage records can show where the material was located.
Review records can show who evaluated the results.
A report can trace back to the samples and testing from which it was produced.
The better the accessioning record, the easier it becomes to reconstruct this history later. This is why accessioning is foundational to sample traceability rather than simply the first screen in a LIMS.
Accessioning Requirements Differ by Laboratory Type
A universal accessioning form is rarely appropriate.
Environmental laboratories may need field IDs, collection locations, preservation details, collection times and holding-time information.
Food and beverage laboratories may connect samples with suppliers, ingredients, production lots, finished products or environmental-monitoring locations.
Pharmaceutical laboratories may need material, product, batch, stability or specification relationships.
Cannabis testing laboratories may need chain-of-custody and jurisdiction-specific submission information.
Clinical laboratories may require patient and specimen identifiers, collection information and clinical-order data, often within LIS or EHR-connected workflows.
Contract testing laboratories may prioritize clients, projects, quotations, test packages and promised turnaround times.
A configurable laboratory system should therefore allow the laboratory to define required fields and workflows by sample type rather than forcing every sample through one generic intake form.
Sample Accessioning for Multi-Site Laboratories
Multi-site laboratories need an additional decision: where is the accession record created? One model creates the accession at the receiving site and then transfers responsibility electronically when the sample moves.
Another uses centralized pre-registration and allows individual locations to confirm receipt.
The correct approach depends on logistics, systems, responsibilities and testing structure. Whichever model is chosen, the same material should not accidentally receive unrelated identities at different locations. Site transfers should preserve the connection with the original sample history.
How Accessioning Fits Into a LIMS Workflow
A well-designed accessioning workflow creates the foundation for the entire sample lifecycle:
Receipt and inspection → acceptance decision → registration → unique identification → labeling → test assignment → priority and routing → tracking → testing → review → reporting → retention or disposal
The individual stages may vary, but the principle is consistent. Information captured at accessioning should not become dead intake data.
It should remain useful throughout the workflow.
The sample type may determine testing.
Priority may influence scheduling.
Collection time may matter during technical review.
Client and project information may appear on the final report.
The accession number may follow the sample through every step.
This is how sample registration becomes operational information.
Building a Better Laboratory Accessioning Process
A laboratory improving accessioning should begin by observing what actually happens at receiving. Follow several normal samples and several problematic ones.
Look at which decisions staff make, which information they repeatedly search for and which errors cause the most downstream disruption.
Then define the required record.
Determine which fields are mandatory for all samples and which are conditional.
Document acceptance and rejection criteria.
Standardize internal identifiers.
Define how labels are created and verified.
Establish how tests and priorities are assigned.
Decide what happens when information is missing.
Then configure the software around that process.
LabZila supports registration, unique sample identification, barcode and QR labeling, testing information, status, locations and downstream sample tracking within its configurable sample-management workflow.
Laboratories planning to replace disconnected intake spreadsheets or manual sample logs can contact LabZila to discuss their accessioning and sample-management requirements.
Frequently Asked Questions
How should I set up sample registration and accessioning for incoming laboratory samples?
Set up accessioning as a controlled workflow that begins with sample receipt and verification. Confirm the physical sample and submission information, inspect condition, apply documented acceptance or rejection criteria, create the sample record, assign a unique accession number, generate the correct label, connect requested tests and priority, and route the sample to the appropriate storage or testing workflow. The specific fields and checks should match the laboratory's sample types and applicable requirements.
What information should be captured when a laboratory sample is received?
Capture enough information to identify the sample reliably and determine what should happen to it. Depending on the laboratory, this can include the external sample ID, laboratory accession number, client or project, sample type, source, collection and receipt dates or times, condition, container or quantity information, custody details, requested tests, priority, storage requirements and any receipt discrepancies. Required fields should be defined according to the laboratory's methods and workflow rather than using one universal form.
Can sample accessioning, barcode creation and test assignment be handled in one LIMS workflow?
Yes. A LIMS can connect sample registration with unique ID creation, barcode or QR-label generation, test assignment, priority, initial storage or routing and downstream tracking. The system should still require the appropriate human verification where sample identity, condition or acceptance needs to be confirmed. Automation should reduce repeated entry while preserving the laboratory's intake controls.